Hello all,
I've been working with this shell and prompt combination for a while across a variety of platforms (Linux, MacOS & WSL), and I'm sure that some of you will also like the prompt on your dev rig set up in a similar way - with the added benefit that ZSH is highly customisable, so you can very easily swap and change things to your personal tastes.
This guide should work on almost any flavour of Linux or MacOS, but I'll be explaining based on installing on Ubuntu 22.04. MacOS has the benefit of already having ZSH as its default shell, so you can skip the step of setting that up and move straight on to Oh My ZSH and Starship.
To install ZSH on Ubuntu, either run sudo apt install zsh from CLI or select ZSH from the Software Center. Now, to install Oh My ZSH, follow the instructions on their web page. The simplest option is to use curl or wget to run the script directly from Github. You will need git and either curl or wget to install it.
sh -c "$(curl -fsSL https://raw.github.com/ohmyzsh/ohmyzsh/master/tools/install.sh)"
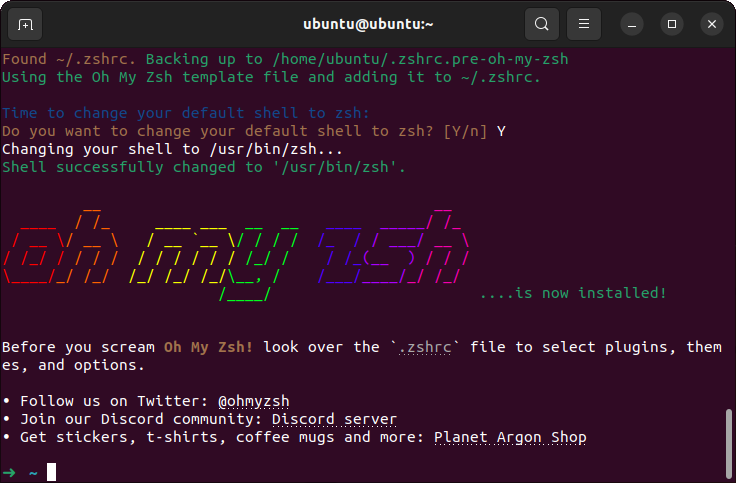
The installer will reconfigure your ~/.zshrc, and save the old one in ~/.zshrc.pre-oh-my-zsh, in case you want to refer back to it.
At this point, if you chose all the default values, your terminal prompt should look something like this:

The final stage here is to install Starship. You'll first need to install a Nerd Font, in order to be able to show all the special characters that Starship uses.
After installing the font, set up your terminal to use it by default. In Ubuntu's default terminal this is done under Preferences -> Profiles by ticking the Custom font checkbox and selecting the font you want it to use.
Once this is done, you just need to run a single command to install the Starship prompt:
curl -sS https://starship.rs/install | sh
This will try to install to /usr/local/bin, but I prefer to install to ~/.local/bin as I only need it for my own user. To do this, use the following sequence of commands:
mkdir -p ~/.local/bin
curl -sS https://starship.rs/install | sh -s -- -b ~/.local/bin
Finally, initialise Starship in each shell by adding the following to the bottom of your ~/.zshrc:
export PATH="$HOME/.local/bin:$PATH"
eval "$(starship init zsh)"
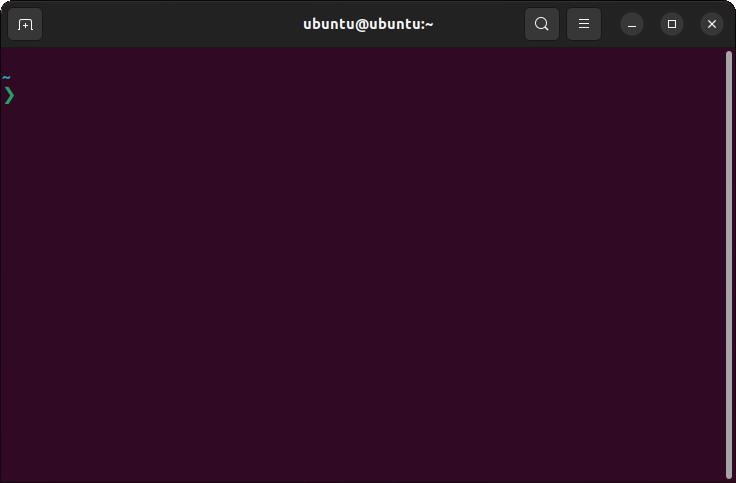
Now whenever you open your terminal, you should be greeted by a simple, beautiful prompt like so:

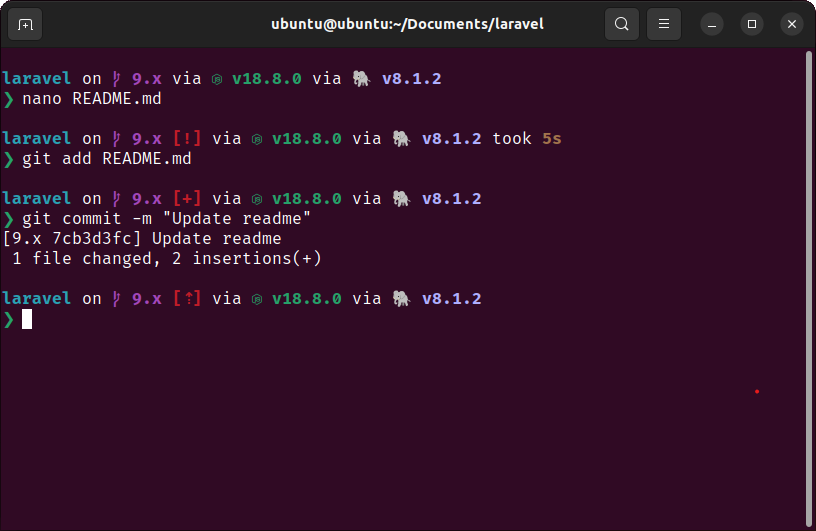
Where Starship really shines is when developing software. For the below screenshot, I've cloned the Laravel repository and made a small change in the README.md. You can see that it's picked up the branch and all versions of relevant frameworks used - in this case NodeJS and PHP. It also picks up when we have unstaged, staged changes or unsynchronised changes in the repository.

I hope that's been useful for as someone else as it is for me. Until next time!

